Exploring the FlashForge Adventurer III
You should read Owning the FlashForge Adventurer III if you haven’t.
Exploration
Now that we have root access to our printer, it’s time to start looking around. There’s a lot of techniques we can use to do this - some automated - but it’s usually more fun manually looking and poking at things.
Taking an image.
Before we do anything, it’s always a good idea to take an image of the device, just in case anything were to go wrong. Having an image means we could also mount it and explore on a different computer, if you wanted to.
This is fairly simple, we can use dd to copy the disk across the network.
On another PC: nc -l 1337 | dd bs=16M of=mmcblk0.img
Then, on the printer: dd if=/dev/mmcblk0 bs=16m | nc 192.168.1.67 1337
This will likely take a while, as the source device is roughly 7.3GB. Obviously change the port and hostname if you require.
Some notes:
The
ddthat ships with MacOS requires use of uppercase block size (16M) whereas GNUdduses lowercase (16m)Usually it’s recommended to pipe the output of
ddthrough something likegzipbefore sending it over the network, but with the extremely weak CPU and very limited RAM available on this device it was way, way, faster just to send the raw bytes.
If we now run binwalk on this image, it’s almost identical to the uImage in the update files, but we now have actual filesystems attached too.
➜  binwalk mmcblk0.img

...snip...

8396800       0x802000        Linux EXT filesystem, blocks count: 488312, image size: 500031488, rev 1.0, ext4 filesystem data, UUID=2af1f15e-3d12-4bd8-859b-f5f23e743e74, volume name "opt"
545259520     0x20800000      Linux EXT filesystem, blocks count: 1775616, image size: 1818230784, rev 1.0, ext4 filesystem data, UUID=e80a0272-e2c3-402f-92ba-0c69d1bad1ba, volume name "data"
2781769728    0xA5CE7000      Linux EXT filesystem, blocks count: 1786656, image size: 1829535744, rev 1.0, ext4 filesystem data, UUID=a521cb30-81d3-4aec-8f32-d4f201480148, volume name "data"
If we break anything we can reflash this image to (hopefully) restore functionality.
dmesg
As a first step, dmesg can be super useful to see what drivers are available, and used - here are a few useful snippets:
[ 0.830000] graphics fb0: fb_ili9341 frame buffer, 240x320, 150 KiB video memory, 0 KiB DMA buffer memory, fps=20, spi32766.1 at 24 MHzThe LED screen is mounted first, identified as /dev/fb0, with some other information we could use.
[    0.890000] Creating 4 MTD partitions on "spi32766.0":
[    0.890000] 0x000000000000-0x000000030000 : "u-boot"
[    0.900000] 0x000000030000-0x000000040000 : "u-boot-env"
[    0.910000] 0x000000040000-0x000000050000 : "factory"
[    0.910000] 0x000000050000-0x000000800000 : "firmware"
[    0.930000] 2 uimage-fw partitions found on MTD device firmware
[    0.940000] 0x000000050000-0x000000188809 : "kernel"
[    0.950000] 0x000000188809-0x000000800000 : "rootfs"
[    0.950000] mtd: device 5 (rootfs) set to be root filesystem
[    0.960000] 1 squashfs-split partitions found on MTD device rootfs
[    0.960000] 0x000000550000-0x000000800000 : "rootfs_data"
The layout of the SPI chip used as flash storage - the 4 root partitions match what we found in the device tree image back in the previous article.
[    1.740000] ads7846 spi32766.2: touchscreen, irq 40
[    1.740000] input: ADS7843 Touchscreen as /devices/10000000.palmbus/10000b00.spi/spi_master/spi32766/spi32766.2/input/input0
Here we see the touchscreen used - an ADS7846 - being mounted.
/opt
There’s usually some interesting files in /opt, and this device is no exception:
$ ls -lah /opt
drwxrwxr-x    9 1000     1000        1.0K Jun 29 01:53 .
drwxr-xr-x   20 root     root        1.0K Jun 29 18:51 ..
-rwxrwxrwx    1 501      20           212 Nov 21  2019 ._cloud
-rw-r--r--    1 root     root       64.0K Apr  8  2018 art.img
-rwxr-xr-x    1 root     root        3.8K Jun 29 01:53 auto_run.sh
drwxr-xr-x    3 root     root        1.0K Jun 29 01:53 backup
drwxrwxrwx    6 501      20          1.0K Jun 29 01:53 cloud
drwxrwxr-x    6 1000     1000        1.0K Jun 29 01:53 finder_rush
-rw-r--r--    1 root     root        1.6K Jun 29 01:54 key.priv
-rw-r--r--    1 root     root         451 Jun 29 01:54 key.pub
drwxrwxr-x    5 1000     1000        1.0K Jan 18  2018 mjpg-streamer
drwxrwxr-x    9 1000     1000        1.0K Jan 18  2018 openssl-1.0.2d
-rw-r--r--    1 root     root        1.7K Jun 29 01:54 private.pem
drwxrwxr-x    5 1000     1000        1.0K Jan 18  2018 qt4.8.6-mipsel-openwrt
-rwxr-xr-x    1 root     root           9 Apr  8  2018 screwflag
drwxrwxr-x    6 1000     1000        1.0K Jan 18  2018 tslib
We can immediately see this is where some of the update files were copied to (unsurpringly, as that was in flashforge_init.sh). We can also see a couple other things: A keypair (key.pub, key.priv), and a folder called finder_rush.
/opt/finder_rush
$ ls -lah /opt/finder_rush
drwxrwxr-x    6 1000     1000        1.0K Jun 29 01:53 .
drwxrwxr-x    9 1000     1000        1.0K Jun 29 01:53 ..
-rw-r--r--    1 root     root           6 Jun 29 08:39 RegistrationCode
-rw-r--r--    1 root     root           3 Jun 29 01:51 buzzer-status
-rw-r--r--    1 root     root          22 Jun 29 01:52 camera-switch
-rw-r--r--    1 root     root           9 Jun 29 17:19 cloud-account
-rw-r--r--    1 root     root           2 Jun 29 01:51 cloud-switch
drwxr-xr-x    2 root     root        1.0K Jun 29 02:22 conf
drwxr-xr-x    2 root     root        1.0K Jun 29 15:18 exe
-rw-r--r--    1 root     root           4 Jun 29 03:26 extruder-calibration
-rw-r--r--    1 root     root           2 Jun 29 01:52 filament-check
-rw-r--r--    1 root     root           8 Jun 29 18:13 filament-cumulative
-rw-r--r--    1 root     root           7 Jun 29 01:51 language-config
-rw-r--r--    1 root     root           2 Jun 29 07:57 led-status
drwxr-xr-x    2 root     root        1.0K Jun 29 02:22 log
-rw-r--r--    1 root     root         135 Jun 29 01:51 myminifactory-config
-rw-r--r--    1 root     root           2 Apr  8  2018 nozzle-tempdifferent
-rw-r--r--    1 root     root          39 Jun 29 01:51 polar-config
-rw-r--r--    1 root     root           6 Jun 29 18:12 print-total-minutes
-rw-r--r--    1 root     root          51 Jun 29 11:13 serial-number
drwxr-xr-x    2 root     root        1.0K Jun 29 02:22 test
-rw-r--r--    1 root     root          36 Jun 29 01:50 wifi-switch
Jackpot. This is where finder_rush_mips gets copied to (in the exe directory) and where it seems to store all the configuration files it uses.
We have things like:
$ cat print-total-minutes
6327
And more interesting things, like:
$ cat RegistrationCode
AEIOU
Which seems to be the code that is used for device registration to FlashCloud. This also seems to change when you factory reset the device - is it random? Something to do with the generated keypair perhaps? Something to explore later on.
/data
We can find other mounted partitions just by running mount:
$ mount
/dev/mmcblk0p1 on / type ext4 (rw,relatime,data=ordered)
proc on /proc type proc (rw,nosuid,nodev,noexec,noatime)
sysfs on /sys type sysfs (rw,nosuid,nodev,noexec,noatime)
tmpfs on /tmp type tmpfs (rw,nosuid,nodev,noatime)
tmpfs on /dev type tmpfs (rw,nosuid,relatime,size=512k,mode=755)
devpts on /dev/pts type devpts (rw,nosuid,noexec,relatime,mode=600)
debugfs on /sys/kernel/debug type debugfs (rw,noatime)
/dev/mmcblk0p2 on /data type ext4 (rw,relatime,data=ordered)
You can see here that /dev/mmcblk0p2 is mounted at /data.
$ ls -lah /data | head
drwxr-xr-x    3 root     root        4.0K Jun 29 16:32 .
drwxr-xr-x   20 root     root        1.0K Jun 29 18:51 ..
-rw-r--r--    1 root     root       99.1K Apr  8  2018 20mm_Box-PLA.gx
-rw-r--r--    1 root     root        2.2M Jun 29 01:53 3DBenchy.gx
-rw-r--r--    1 root     root      799.4K Jun 29 01:53 3D_Printer_test_fixed_stl_3rd_gen.gx
-rw-r--r--    1 root     root        6.6M Jun 29 01:58 Adv3_Spool_Holder.gx
Looks like this is the user data partition - where all the files that have been printed are uploaded and stored.
/www
There’s a bunch of web files in this directory - after a bit of Googling I realised you can actually view a live stream of the inbuilt camera by heading over to http://$ip:8080/?action=stream. Could be interesting to poke around a bit further and see if there’s any other available actions?
What next?
Maintaining access
I don’t really want to continue using Metasploit and the meterpreter shell - so we can leverage the OpenWRT package manager opkg to install openssh-server for us.
$ opkg install openssh-server
Installing openssh-server (7.1p2-1) to root...
Downloading http://downloads.openwrt.org/chaos_calmer/15.05.1/ramips/mt7688/packages/packages/openssh-server_7.1p2-1_ramips_24kec.ipk.
Installing openssh-keygen (7.1p2-1) to root...
Downloading http://downloads.openwrt.org/chaos_calmer/15.05.1/ramips/mt7688/packages/packages/openssh-keygen_7.1p2-1_ramips_24kec.ipk.
Configuring openssh-keygen.
Configuring openssh-server.
After configuring my keys in /root/.ssh/authorized_keys, I can now SSH into the box whenever I want:
➜ ssh root@192.168.1.92
BusyBox v1.23.2 (2018-01-31 17:31:09 CST) built-in shell (ash)

  _______                     ________        __
 |       |.-----.-----.-----.|  |  |  |.----.|  |_
 |   -   ||  _  |  -__|     ||  |  |  ||   _||   _|
 |_______||   __|_____|__|__||________||__|  |____|
          |__| F L A S H F O R G E  F R E E D O M
 -----------------------------------------------------
 CHAOS CALMER (Chaos Calmer, r49389)
 -----------------------------------------------------
root@FlashForge:~#
Modifying software
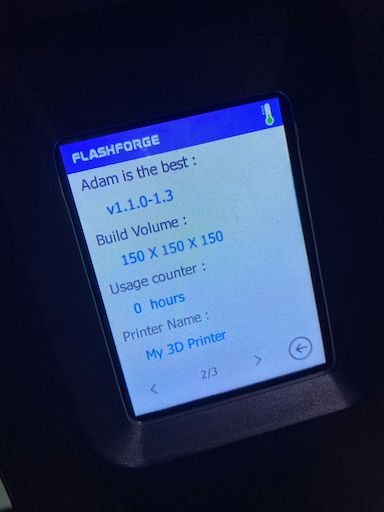
Now that we know where the software is that drives the LCD, we can do stupid stuff like:

The finder-rush-mips executable looks to be using a combination of QT and HTML to drive the UI.
There’s a lot of QoL improvements to be made to it, so mapping all the IO pins and writing my own UI could be a fun task.
Exploring the hardware a little more.
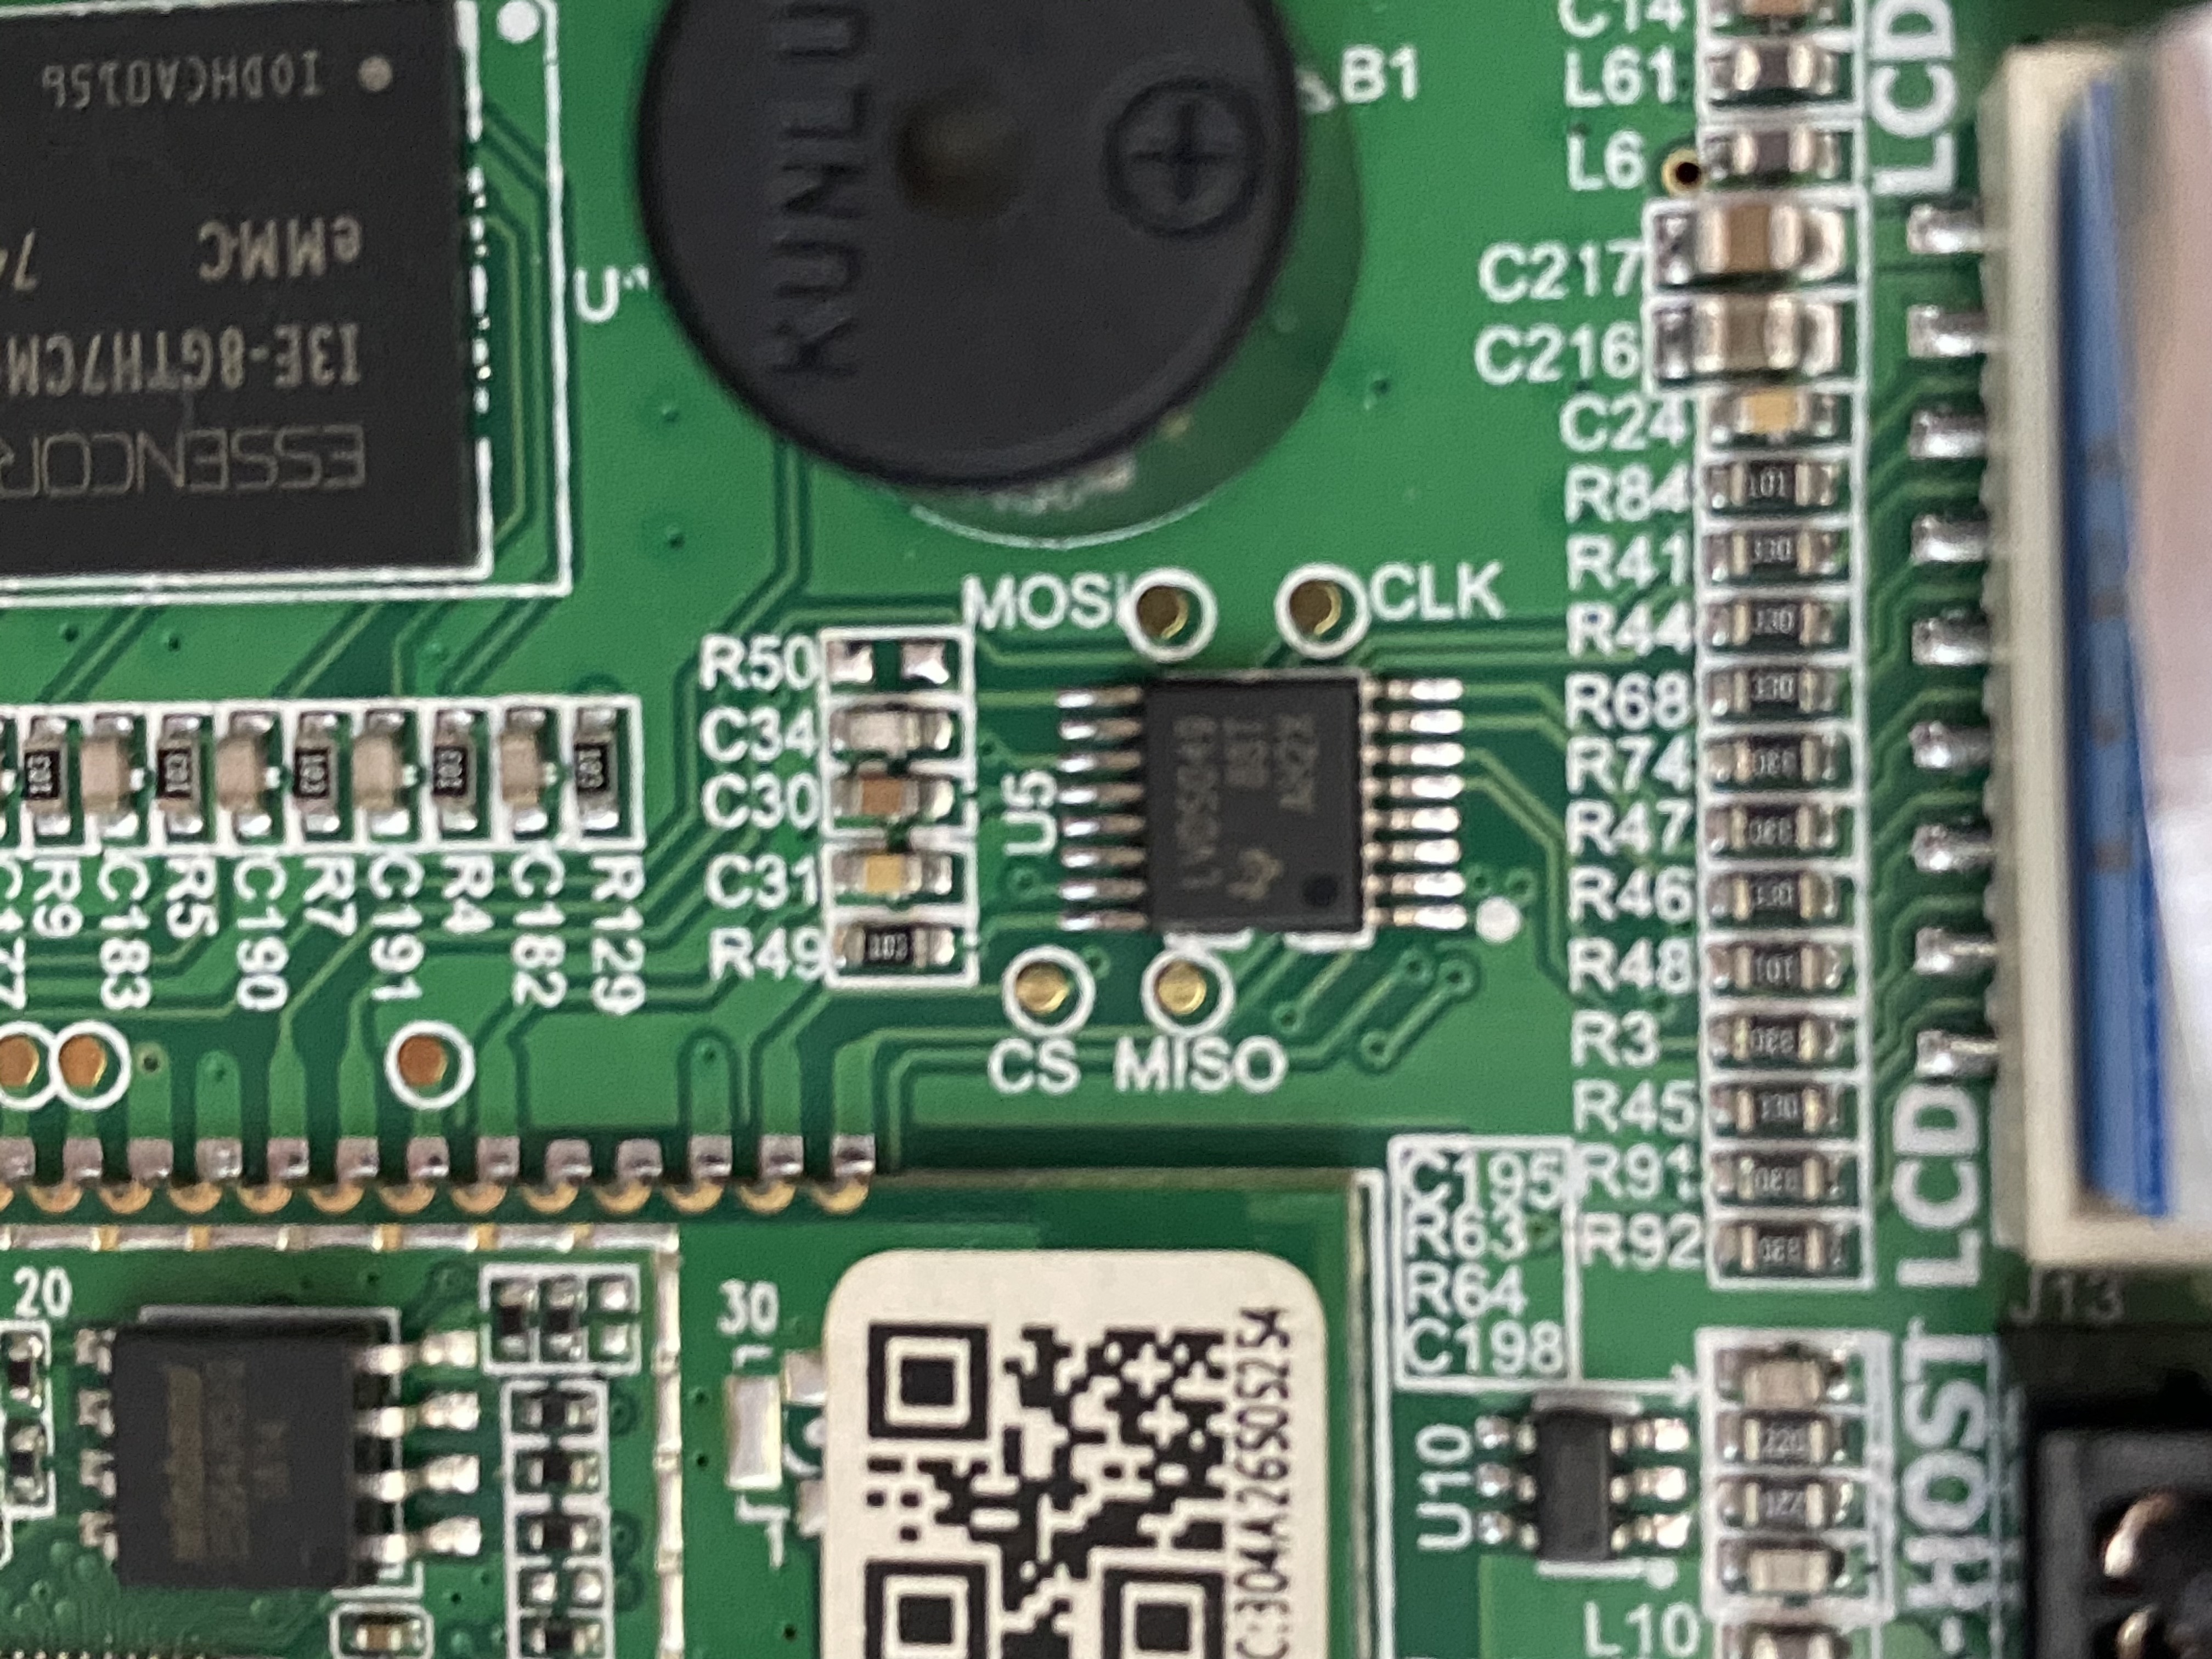
I also opened up the case to have a peek at the motherboard, which revealed there were a couple of PCB pads exposed.

There are 4 that stand out: MOSI, CLK, CS and MISO. These are reminiscent of an SPI interface. At this point I doubt we’re going to find any other juicy information - but it could be worth trying to interface with this for a learning experience.